Export OrderPro is a Shopify embedded app that lets you export your store's orders into CSV or Excel files, apply custom filters to narrow down exactly which orders you export, and design which columns appear in each report. Setup takes under five minutes, and your first export is ready before your next coffee: no coding, no third-party spreadsheet connectors, no manual copy-paste.
Why order exports matter for your Shopify store
Order exports move Shopify data into the tools that run the rest of your business — warehouse systems, accounting software, CRMs — without manual copying from the Admin interface. Shopify's built-in order view is optimised for managing individual orders, not for bulk data workflows. For a side-by-side breakdown of what it covers versus Export OrderPro, see Shopify's Built-In Order Export vs. Export OrderPro. When you need to send a fulfilment list to your warehouse, reconcile revenue with your accountant, or sync customer data into a CRM, you need a structured file on demand or on a schedule — not a browser tab.
According to Shopify's 2023 Annual Report, merchants on the platform collectively processed $235.9 billion in gross merchandise volume that year. For stores handling hundreds or thousands of orders per month, manually copying order data from the Admin UI into spreadsheets is both time-consuming and error-prone. A structured export workflow eliminates that work entirely.
Common reasons merchants export order data include:
- Warehouse & fulfilment — daily pick lists filtered to unfulfilled orders, with only the columns your team needs (order number, SKU, quantity, shipping address).
- Accounting & bookkeeping — monthly revenue exports filtered by payment status, with financial columns mapped to the names your accounting software expects.
- Customer marketing — periodic exports of customer emails and purchase history for upload into email platforms or CRMs.
- Returns & refunds tracking — filtered exports of refunded or partially refunded orders for reconciliation.
- Supplier reporting — exports filtered by product or vendor so each supplier receives only their relevant order lines.
Each of these workflows requires a different slice of your order data. That is why Export OrderPro separates report designs (which columns) from filters (which orders) — you can mix and match them to produce as many distinct export types as your business needs.
1. Install the app
Search for Export OrderPro in the Shopify App Store and click Install. After granting the required permissions you will be redirected to the app dashboard inside Shopify Admin. The app runs entirely inside the Shopify Admin iframe — no separate login is needed, and you never leave your existing admin session.
The permissions requested cover read access to orders, products, customers, and locations. Export OrderPro reads order information to build export files. It does not write to your store data.
On first load the app creates a default report design with a selection of the most commonly used order fields and no filters, so you can run your first export immediately after installation without any configuration.
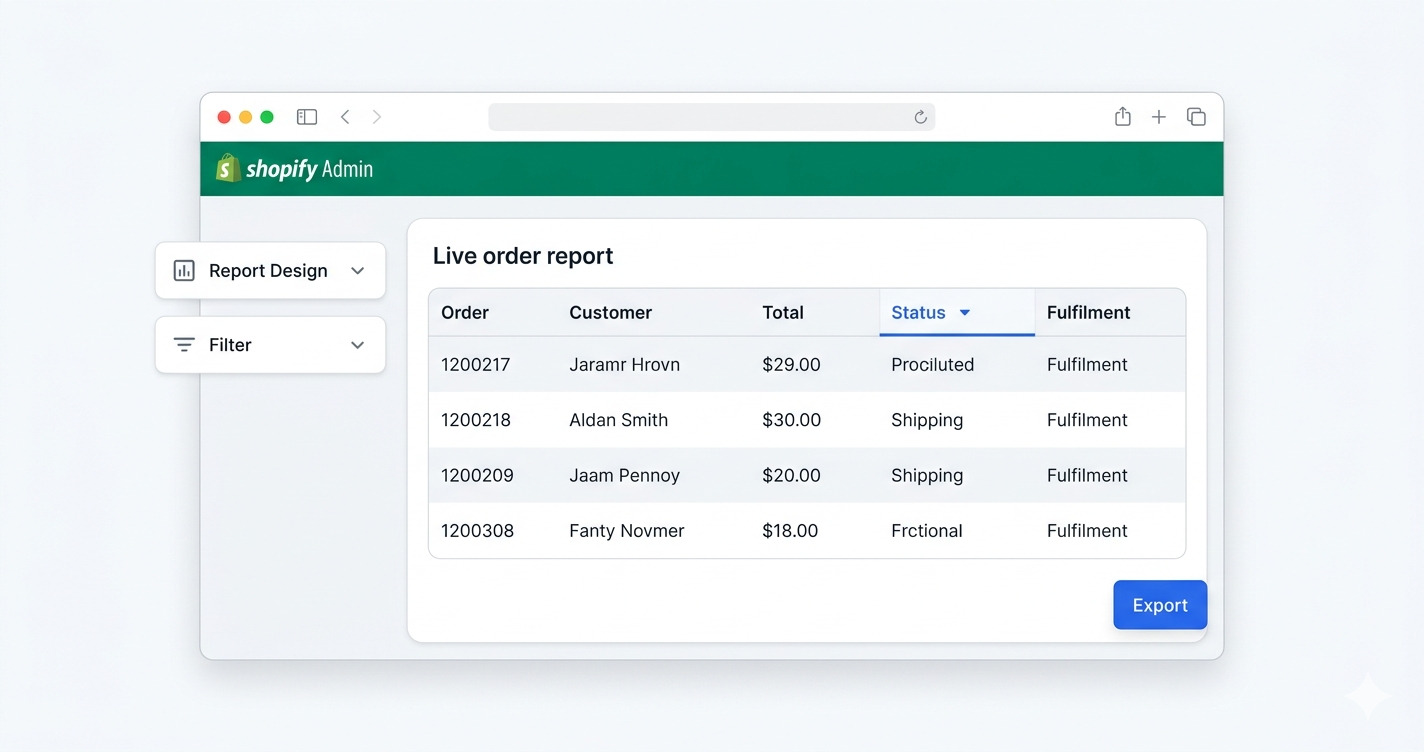
2. Run your first export
Open the Reports page from the sidebar. Three controls at the top drive every export:
- Date range — choose a preset (Today, Yesterday, Last 7 days, Last 30 days, This month, Last month) or pick custom start and end dates. The range filters orders by their creation date.
- Report — select one of your saved report designs. The default report covers the most commonly needed order fields and is ready to use straight away.
- Filter — optionally narrow which orders are included. Leave this empty to export every order in the date range regardless of status.
Click Export and the file will be generated and offered for download within seconds. For stores with very large order volumes or long date ranges the generation may take a little longer, but the process runs server-side so you can navigate the app while you wait.
Choosing between CSV and Excel
CSV files are plain text and compatible with virtually every tool — spreadsheet apps, accounting software, email platforms, and custom import scripts. Excel files (.xlsx) preserve column formatting, support multi-sheet layouts, and open natively in Microsoft Excel and Google Sheets without any import wizard. If your downstream tool supports both, CSV is the safer default; use Excel when recipients need a ready-to-print or formatted report.
You can change the preferred export format in Manager → Configuration alongside other preferences such as date format and CSV encoding.
3. Design a custom report
A custom report design specifies which columns appear in the export, the header name for each column, and the column order — saved once and reusable across any manual export, live preview, or automation. The default report covers the most common fields, but a dedicated design for each downstream system means the file arrives ready to import without manual column adjustments.
Go to Manager → Report Designer to create or edit a report. Each report is a named column list. You can:
- Add or remove order fields — order number, email, phone, shipping address, billing address, line items, SKUs, quantities, prices, discounts, taxes, totals, payment status, fulfilment status, tags, notes, customer ID, and more.
- Rename any column header to match what your warehouse management system, accounting package, or 3PL portal expects.
- Reorder columns by dragging them into position.
Save the report with a descriptive name such as Warehouse Fulfilment, Accounting Export, or Customer CRM Sync. It will appear in the Reports page dropdown immediately and can be used with any filter.
Practical report design tips
- One report per destination system. Rather than a single catch-all report, create one per workflow. Your warehouse team does not need financial columns; your accountant does not need shipping weights.
- Match the column names your import tool expects. Many accounting packages and CRMs have fixed column name requirements for CSV import. Rename headers in the designer once and every subsequent export arrives ready to import.
- Use the Live view to verify. Before saving a new report design, switch to the Live view to preview which columns appear and whether the data looks correct for a sample of recent orders.
4. Create a filter
Filters let you export only the orders that match specific criteria. Open Manager → Filter Editor and create a new filter. Conditions can be combined with AND / OR logic. Available filter fields include:
- Order status (open, archived, cancelled)
- Financial status (paid, pending, refunded, partially refunded, voided)
- Fulfilment status (fulfilled, unfulfilled, partial, scheduled)
- Tags applied to the order
- Specific product title, SKU, or variant
- Shipping country or province
- Customer email or phone
- Sales channel
Filter examples for common workflows
- Unfulfilled paid orders — Financial status = Paid AND Fulfilment status = Unfulfilled. Useful for daily pick lists that exclude orders still awaiting payment.
- International orders only — Shipping country ≠ [your home country]. Useful for sending to a separate fulfilment partner that handles overseas shipping.
- Orders containing a specific product — Line item product = [product name]. Useful for supplier-specific exports when a product comes from a single vendor.
- Refunded orders this period — Financial status = Refunded OR Financial status = Partially Refunded. Useful for monthly reconciliation with your payment processor.
Filters also support advanced operators — ! to exclude a value,
* to match any non-empty value, and !* to match only empty
fields — as well as a dynamic date function for automations that need a self-updating
date value. For a full breakdown, see
Shopify Order Filters Explained.
5. Preview before you export
The Live view shows a real-time table of the orders that would be included for your current report and filter selection. Use it to verify your filter logic before committing to a full export — especially useful when you have combined several AND / OR conditions and want to confirm the result set looks correct.
6. Configuration options
Manager → Configuration holds store-level preferences that apply to all exports:
- Export format — CSV or Excel (.xlsx).
- CSV encoding — UTF-8 (default) or UTF-8 with BOM (required by some older versions of Excel on Windows to correctly display accented characters).
- Date format — choose how dates appear in the exported file (YYYY-MM-DD, DD/MM/YYYY, MM/DD/YYYY, etc.) to match the expectations of your downstream system.
Frequently asked questions
How many orders can I export at once?
Export OrderPro can handle large order volumes. For very large date ranges covering tens of thousands of orders the generation runs server-side and may take a minute or two; you will receive the file as a download once it is ready. There is no hard cap on the number of orders per export.
Can I export line items as separate rows?
Yes. When line item fields (product title, SKU, quantity, price, etc.) are included in your report design, each line item in an order appears as its own row in the export, with the parent order fields repeated on each row. This is the standard format expected by most warehouse and fulfilment systems.
Does the app export orders in real time?
Manual exports from the Reports page always reflect the current state of your orders at the moment you click Export — including any updates made seconds before. There is no caching delay.
Can I share report designs with my team?
Report designs and filters are saved at the store level, not per user. Any Shopify staff member with access to the app can use, edit, or run any report or filter you create. There is no per-seat or per-user configuration required.
What happens if I delete a report design that is used in an automation?
The app prevents it. If a report design or filter is referenced by an active automation, Export OrderPro will block the deletion and notify you. You need to either remove the automation first or reassign it to a different report design or filter before the deletion is allowed.
Is my order data stored by Export OrderPro?
Export OrderPro does not persistently store your raw order data. However, the generated report files are retained for a number of days after each export so you can download or re-download them from the History tab without having to re-run the export. After that retention period the files are removed from the server.
Next steps
Once you are comfortable with manual exports, consider setting up Automations to have reports generated and emailed to you on a schedule. See How to Schedule Automated Order Reports for a full walkthrough.